Specialty Foods
How to Grow a Kombucha Scoby — in just 10-12 Days
Jul
 Using six key concepts, we’ve developed a terrific method for growing a Kombucha scoby from a bottle of store-bought brew.
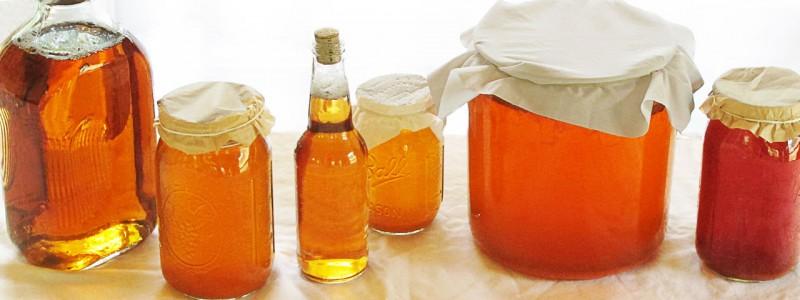
Kombucha is the delicious fizzy, probiotic tea that is becoming an increasingly popular DIY project. With store-bought bottles running $3-5 each, the cost savings for home brewers add up quickly. The key to brewing at home is obtaining a scoby, the pancake-shaped cellulose home for the Kombucha microbes. If you don’t have a friend nearby who can give you a fresh scoby, it’s easy to grow your own. The process is similar to creating a sourdough starter or establishing a home yogurt culture from a store-bought cup of yogurt.
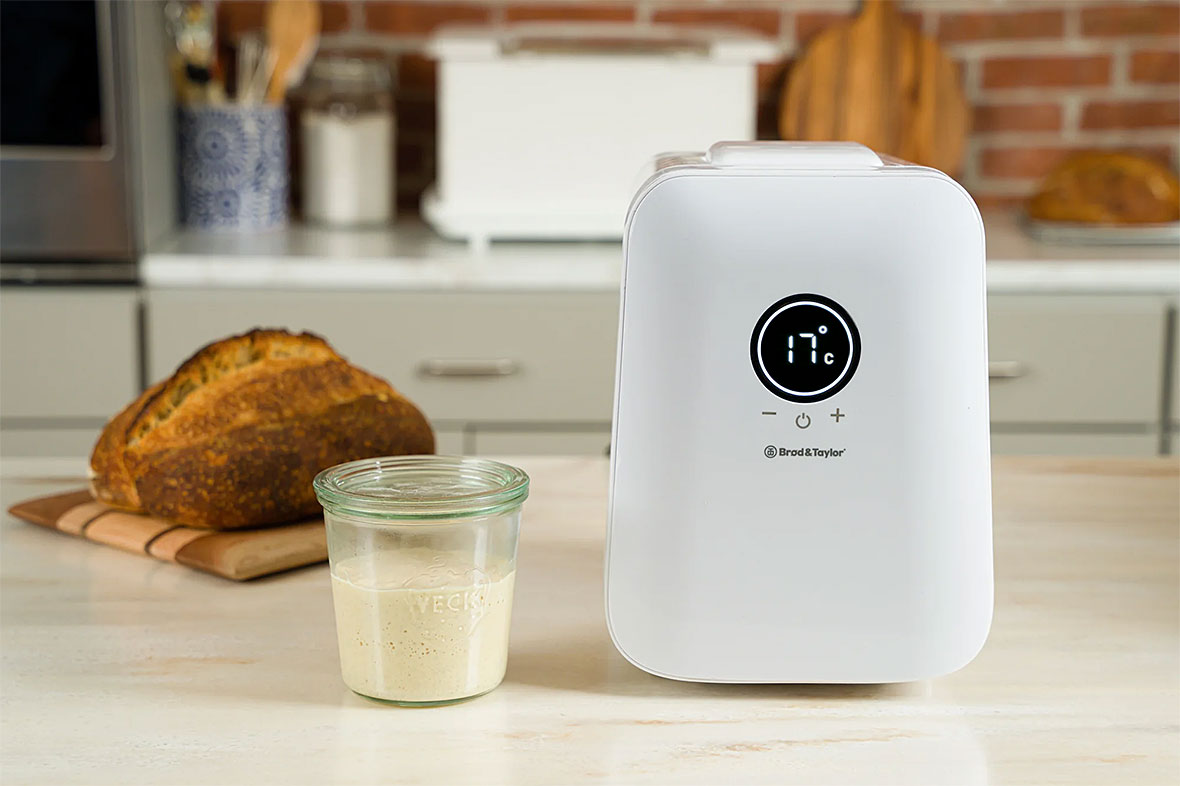
The accurate temperature control of the Folding Proofer makes it simple to speed the process of creating a scoby without risking damage to the culture from overly warm temperatures. It works, and it works much faster than the standard 3-4 weeks of other methods.
Six Key Concepts for Optimal Kombucha Scoby Growth
1. Culture the Kombucha at 27 °C. The normal range for Kombucha brewing is 72-80 °F / 22-27 °C. Even though we might not choose to brew at 27 °C once our culture is up and running, it is the perfect temperature for speeding up scoby formation without danger of damaging the culture. Note: temperatures below 22 °C carry an increased risk of mold contamination.
2. Pick a good location. A good location is one where your Proofer can hang out for 10-12 days without being moved. The scoby will form on the surface of the kombucha, which means that if you jostle or swish the container the fledgling thin scoby could detach from the vessel walls and move below the surface. If that happens, your culture will start building a new scoby at the surface and you’ll end up with two super-thin pancakes instead of one thicker one. The Proofer should also be away from direct sunlight.
3. Use a 4-5 Liter container (8″ / 20 cm) high or less. Kombucha scoby formation works best with a high surface to volume ratio. This means putting a relatively small amount of Kombucha in a large, wide container. For convenience, we chose the same one gallon glass container that will become our regular brewing vessel once our culture is up and running. An added benefit is that our first scoby will already be the right size for our brewing vessel. The lid is not used.
If your container is taller than 8″ / 20 cm, it will not fit in the Proofer.
4. Feed the culture, but not too much. The bottled kombucha used to start the culture will not have enough glucose and tea nutrients for optimal cellulose production — a light meal is what your culture needs. If you feed it too much, the culture will be too dilute and the scoby will take longer to form. If you don’t feed it at all, cellulose production will also be slow due to lack of nutrients. Our recipe feeds the culture at a ratio of 2:1.
5. Use black tea. Don’t experiment with green or white tea, a thick scoby forms best from regular black tea. For our tests we used organic English Breakfast tea and got great results. Other teas will work for growing the scoby but will be much slower. Once the first scoby is formed and the culture is up and running, any unflavored white, green, oolong or black teas will work as well.
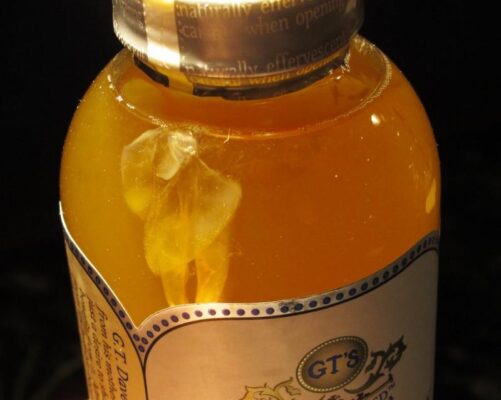
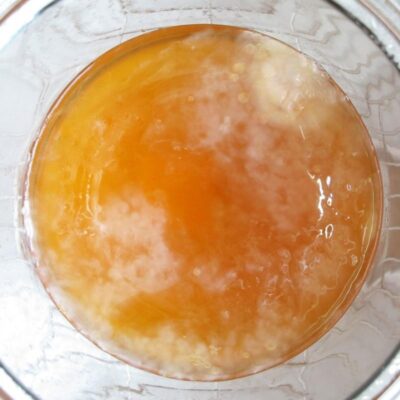
6. Choose a likely candidate. For your starter bottle of store-bought Kombucha, choose an unflavoured bottle of raw, unpasteurised brew. And if at all possible, find one with strands of culture floating in the bottle. Not only is a strand of culture a sign of healthy microbial activity, but strands that move to the surface during culturing develop faster than the rest of the culture. (See photo of culture formation — the thicker, brighter white area is where the strand from the bottle was.)
Printable Multi-language Recipes
Yield: One kombucha scoby.
Timing: About 1 hour preparation and 10 days incubation in the Folding Proofer.
Ingredients
| By Volume | |
|---|---|
| Raw, unflavored Kombucha* | 2 C / 500 g |
| Filtered water, divided | 1 C / 240 ml |
| Black tea bag | 1 bag / 2g |
| Sugar, white or organic white | 1 T / 15g |
*Ideally with a floating strand of culture (see photo).
Equipment: Brød & Taylor Folding Proofer, one gallon / 4 L non-metal brewing vessel no more than 8″ / 20 cm tall, tightly woven fabric or paper cover and rubber band. An instant-read thermometer can be helpful for making sure the tea has cooled adequately.
Get Ready. Clean your brewing vessel and rinse the inside with white vinegar. If using a thermometer, also rinse the probe with vinegar. Set up the Proofer out of direct sunlight and where it won’t be disturbed. Set it to 80 °F/ 27 °C and allow it to preheat.
Make the Tea. Measure out about one quarter of the water (¼ C / 60 ml) and bring it to a boil. Stir in the sugar to dissolve, then add the tea bag. Steep for 20 minutes. Remove the tea bag and add the remaining ¾ C / 190 ml of the water. Check the temperature of the tea, making sure that it is below 90 °F / 32 °C. Note: it is important that the tea be cool enough to avoid damaging the live culture.
Feed the Culture. Pour the cooled tea into the one gallon brewing vessel and add the bottled Kombucha. Cover the container with a paper or cloth cover held in place with a rubber band. Set in the Proofer and culture for 10 days.
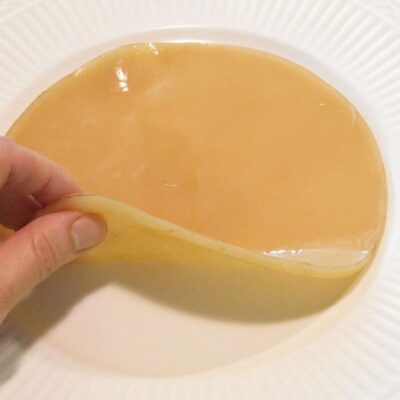
Check on Your Scoby. After ten days, open the Proofer and allow it to air out (it will have the “funky” aroma of Kombucha). Gently, without jostling your brewing vessel, remove the cloth or paper cover and check on the scoby. If it is still transparent or paper-thin in areas, you may decide to cover it back up and leave it a few more days.
During the ten-day culturing period, it’s fine to open the Proofer and check on the scoby periodically, just be careful not to jostle the container and dislodge the newly forming scoby.
Your First Batch of Kombucha. When the scoby is ready, the Kombucha beneath it will be quite tart and vinegary. Use your new scoby plus 1-2 C / 250-500 ml of the tart Kombucha to start your next batch. You’ll have 1-2 C / 250-500 ml of sour Kombucha left over — for most people, this will be too sour for drinking as is. It can be used for salad dressings, or store it in the refrigerator and use it in place of vinegar to rinse out your brewing vessel before each batch.
If you’d rather try bottling it, make up some lightly sweetened tea and dilute the tart Kombucha to taste with the tea before flavouring and bottling.
 Select Country