Yogurt & Dairy Recipes
Greek-Style Yogurt
Nov
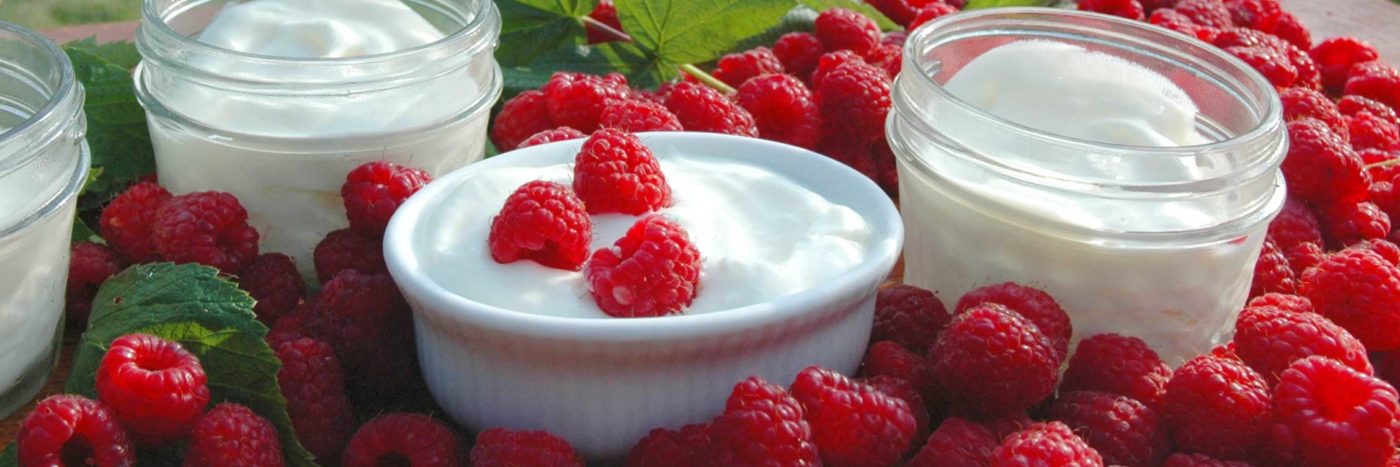
With its luxurious, thick & creamy texture and mild flavour, Greek-style yogurt is easy to love. Our recipe delivers the ultimate DIY dream yogurt.
Greek-style yogurt is so delicious, we’re thrilled to develop a specialised recipe that produces the best result with the most convenient process. Like our custard-style yogurt, this recipe holds the milk at a high temperature to denature plenty of whey proteins, producing a thicker texture and a yogurt that loses less protein during straining. A key difference from our other yogurt recipes is that all the milk is left in one large container for culturing, which is more convenient than a collection of mason jars if the yogurt will be strained. Leaving the milk in one large container also makes it easier to hold it at a hot temperature – just cover the pot and let it sit, no additional fussing required.
We love the High-Low method for its stable, smooth texture and for the longer window of opportunity to catch the yogurt before culturing progresses too far and forms lumps. For this version of High-Low yogurt, the Proofer temperatures have been tweaked to accommodate a metal pan and the large size of the container, both of which cause the yogurt to cool much more slowly than a collection of mason jars.
Got Grass-fed Milk?
Straining is a wonderful technique for summertime (pastured) milk or grass-fed milk. Numerous studies show (and cheesemakers know) that summer milk has lower protein, lower fat and lower overall solids than winter milk- in short, it has more water and less of the stuff that gives yogurt a thick, stable texture. We’ve noticed how yogurt is more prone to leak whey or form lumps when our local dairy puts their cows out to pasture. The solution we love most is to strain and whisk the yogurt to transform it into thick and smooth Greek yogurt.
Greek-Style Yogurt Recipe
Yield: U.S. recipe makes approximately 9 cups after straining. The metric recipe makes about 2¼ litres. The yield can vary with the quantity of protein in the milk and the amount of time devoted to straining. This recipe can be halved; the yogurt will take a bit longer to set since the smaller container will cool down faster than a larger one.
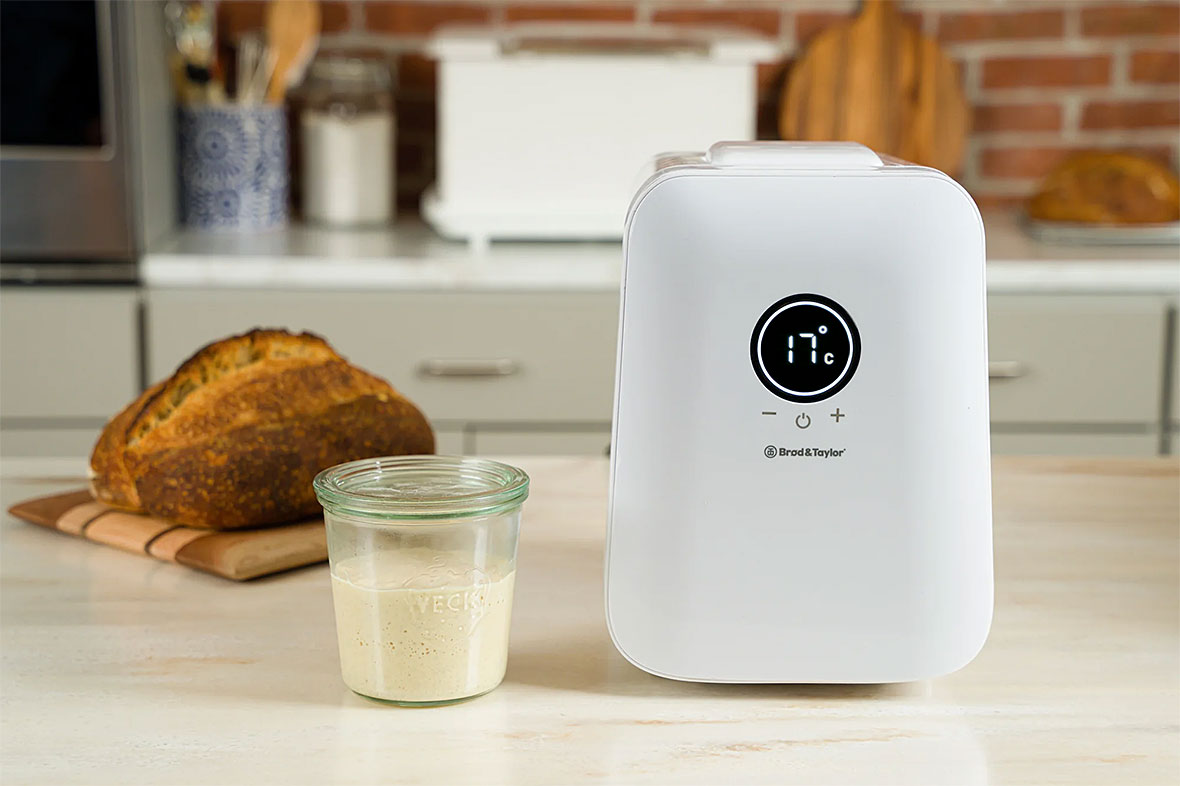
Equipment: Brød & Taylor Folding Proofer, thermometer, large stock pot with a lid, a large colander with coffee filters or cheesecloth to strain the yogurt, and a whisk. A one-cup mason jar is convenient for separating out the yogurt that will be used to start the next batch.
Note: When using the Folding Proofer to make yogurt, be certain there is no water in the water tray. The water tray is not needed for making yogurt. You can remove it from the Proofer, if you like, or leave it empty. But do not add water because it will affect temperature settings.
Ingredients
| Quantity | ||
| Milk (Whole, Low fat or Skimmed) | 4 Litre | |
| Plain Yogurt with Live Cultures* | 250 ml |
*Either store-bought or reserved from a previous batch of homemade yogurt.
Step One: Heat Milk to 96 ºC and Hold for 10 Minutes. Pour the milk into a large stock pot and heat to at least 96 ºC. Stir constantly and watch the milk as it approaches 93 ºC to avoid the mess of boiling over. (Boiling will not harm the milk or the yogurt, it’s just messy). Remove the pot of milk from the stovetop and cover, allowing it to stay hot for ten minutes. Tip: Whisking the milk to cover the surface with bubbles will prevent it from forming a skin during heating and cooling.
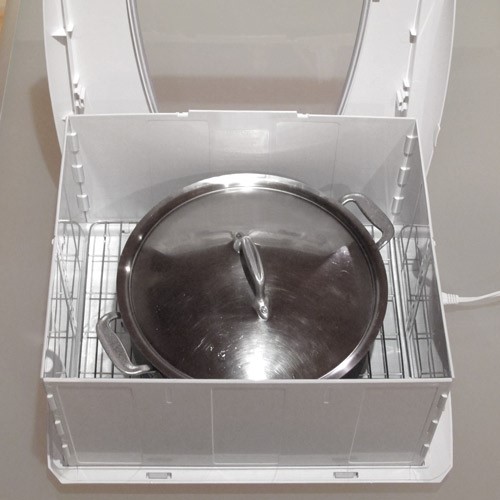
Step Two: Cool Milk to 43 ºC. After the milk has remained hot for ten minutes, remove the lid and allow it to cool to 43 ºC. For faster and more food-safe cooling, place the container of milk in a pan or sink of cold tap water. While the milk is cooling, set up the Proofer with the wire rack in place and the temperature at 43 ºC. If your stock pot is too tall to fit into the Proofer, transfer the milk to a large bowl when it cools to about 46 ºC.
Step Three: Add Yogurt to the Milk. Put the yogurt with live cultures into a small bowl. Gradually stir in enough of the warm milk to liquefy the mixture and mix until smooth. Then pour the liquefied culture back into the large container of milk and stir gently to distribute. Place the lid on the pot and put it into the Proofer to culture. Straining Greek Yogurt Straining Greek Yogurt
Step Four: Culture at 43 ºC for an Hour, then Lower the Heat to 26 ºC. Set a kitchen timer for one hour, then after that hour turn the Proofer down to 26 ºC. Continue to culture the yogurt until it is set.
Step Five: Check the Yogurt after Three Hours. After an hour at 43º C plus two more hours at 27ºC, check the yogurt by gently tilting the container to the side to see if the milk has set. Most yogurts will take about 3-4 hours to set, or the yogurt can be cultured longer for more flavour and acidity. Tip: If it is not convenient to strain the yogurt when it is finished culturing, it’s fine to refrigerate it until later.
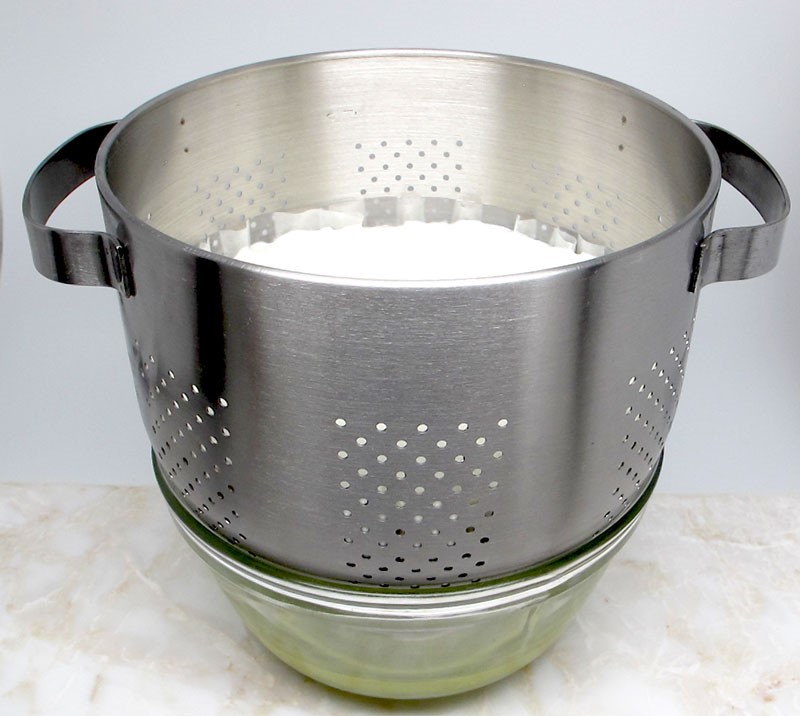
Step Six: Strain the Yogurt. When the yogurt is finished culturing, remove it from the Proofer and spoon enough yogurt into a small jar to be the starter culture for your next batch, then refrigerate it (it is better not to strain the seed culture). Line a large colander with cheesecloth, a clean towel or a restaurant-sized coffee filter and place it over a large bowl. Spoon the yogurt into the colander, cover it and place in the refrigerator to drain. Empty the whey from the bowl as needed during straining. We like Greek-style yogurt best when strained for about 3-4 hours, but you can strain for more or less time to suit your needs.
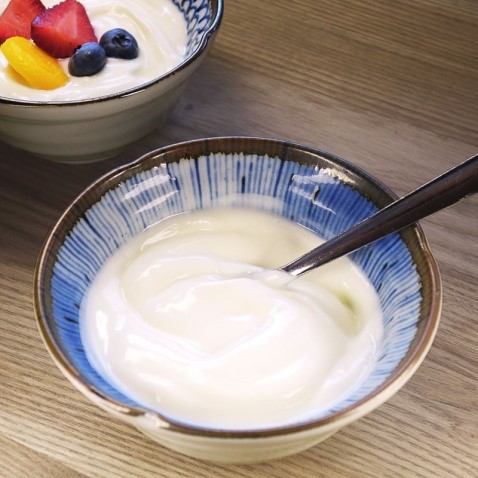
Step Seven: Whisk the Yogurt. When the yogurt is finished straining, spoon it into a large bowl and whisk vigorously to smooth out the texture and give it a uniform thickness. If desired, flavourings can be added and/or the yogurt can be spooned into single-serve containers. Refrigerate.
 Select Country