Bread & Sourdough Recipes
Black Garlic Sourdough Focaccia
By Hannah Dela Cruz, blogger and cookbook author
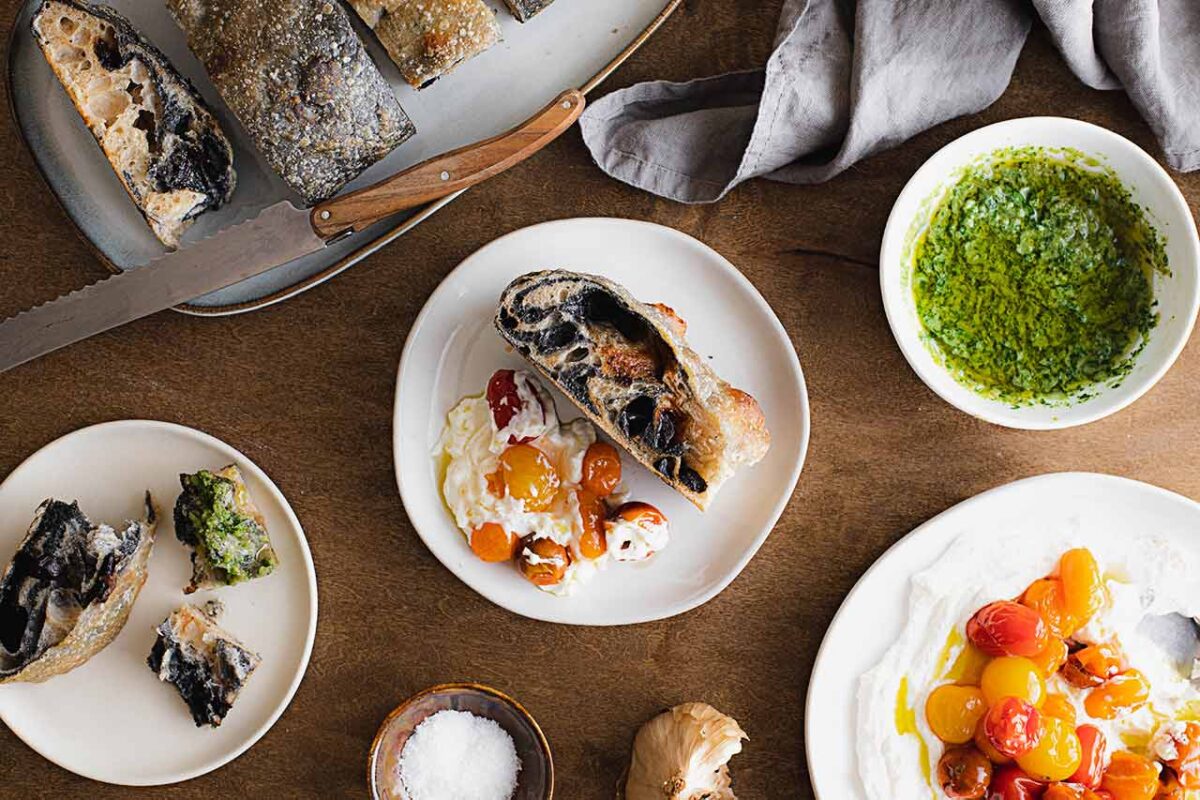
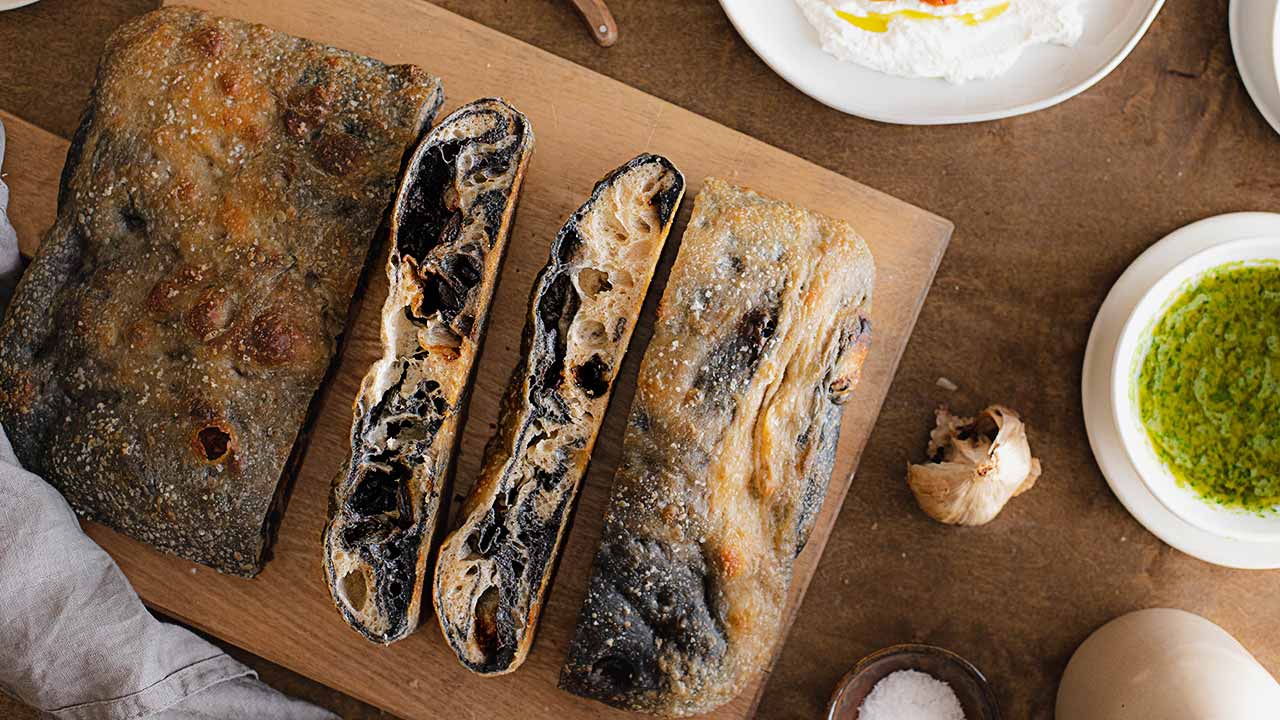
Marbled focaccia with black garlic – airy, flavourful and perfectly fermented
Springy focaccia with pops of sweet black garlic dotted throughout its airy, marbled crumb is a show-stopping addition to your sourdough repertoire. Making it with homemade black garlic gives it an even more impressive quality.
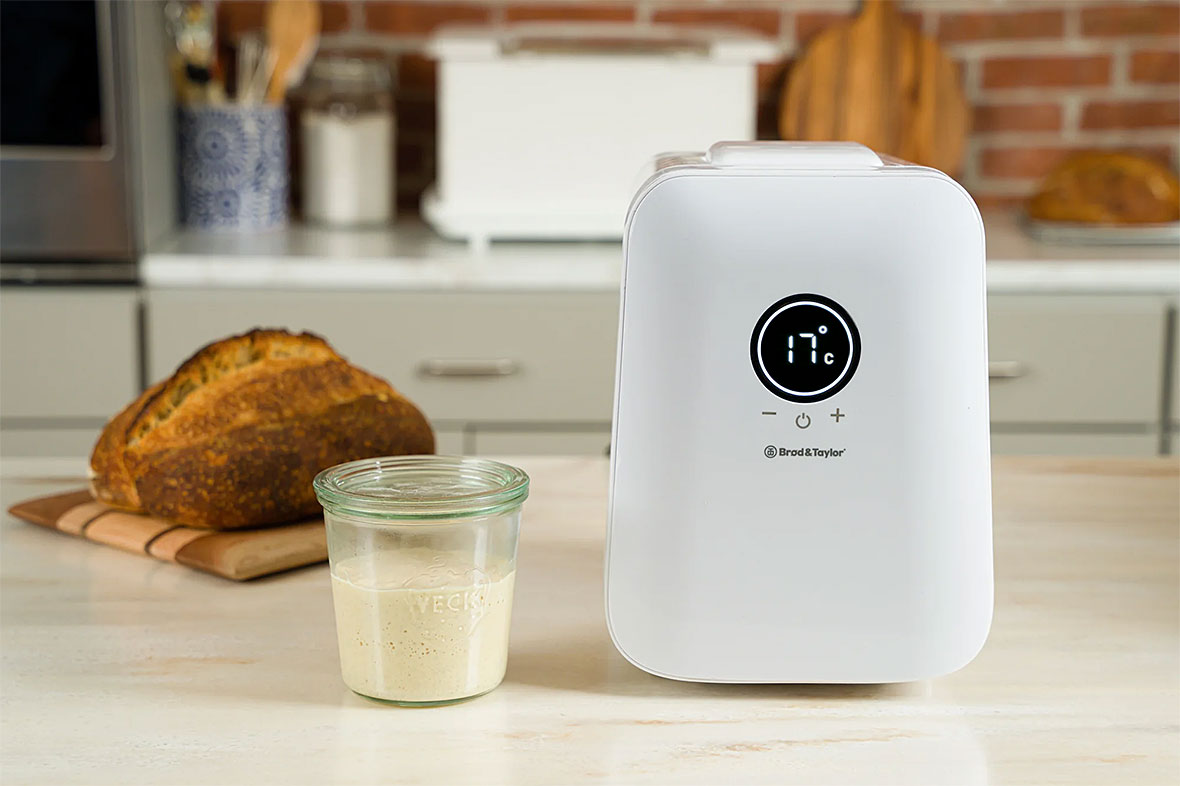
The success of a focaccia is completely dependent on nailing fermentation. You’ll want to exercise patience during bulk fermentation and allow your dough to rise, build up lots of air and bubbles, or your bread will bake up pale, with a tight crumb and chewy crust. The Brod and Taylor Folding Proofer maintains a constant temperature that allows you to create an environment that encourages fermentation to occur at an optimal level, resulting in a perfectly golden browned focaccia with an airy crumb and thin crackly crust.
To achieve this bread’s impressive marbled crumb, you’ll need to create two doughs. The bread gets its color from edible charcoal powder, a few grams is enough to give the dough a dark hue but won’t impart any burnt flavors. You’ll be handling the two doughs the same throughout the dough development process, and will combine them at the last moment to maintain the marbled effect and prevent them from mixing too much.
Even with its eye-catching appearance, the true star of this bread is homemade black garlic. It imparts its characteristic sweet, balsamic vinegar-like flavor into each bite. Black garlic is best folded into the dough, as using it as a topping causes it to scorch and burn while baking. This bread is delicious on its own or with just a few simple sides like roasted tomatoes or a simple herb olive oil dip.
Black Garlic Focaccia Recipe
Yield: 1116 g dough.
Timing: Active: 2 hours; Inactive: 13.5 to 21 hours; Total: 15 to 23 hours

Ingredients: Plain Dough
- 300 g Bread Flour
- 50 g Whole Wheat Flour
- 263 g Water
- 7 g Salt
- 88 g Active Sourdough Starter
- 18 g Olive Oil
Total Hydration: 93%
Ingredients: Charcoal Dough
- 150 g Bread Flour
- 21 g Whole Wheat Flour
- 129 g Water
- 3,4 g Salt
- 42 g Active Sourdough Starter
- 1,7 g Charcoal Powder*
- 9 g Olive Oil
Total Hydration: 93%
*NOTE: While charcoal powder is a commonly used black food-coloring additive, it is not actually approved by the FDA for commercial use. Food grade charcoal is often produced from carbonized coconut shells. Just like the charcoal on your too-well-toasted bread, it is widely considered safe. But if you have concerns about this ingredient, feel free to leave it out of the recipe. While you won’t get the same black dough, the taste will be unaffected.
Ingredients: Filling and Topping
- 32 g Black Garlic*
- 28 g Olive Oil
- 4 g Sea Salt
*Instructions for making black garlic at home.
Equipment: Brød & Taylor Folding Proofer, dough whisk, mixing bowls, baking sheet
Make the doughs: Mix the ingredients for the Plain Dough in a large mixing bowl. Using a dough whisk, spatula or your hands bring the ingredients together until all of the flour is completely hydrated. Knead the dough inside the bowl until it feels like a cohesive mass. Gather the dough and transfer it into a clean lightly oiled bowl. Place the bowl into your Brod and Taylor Folding Proofer set at 26 °C for 30 minutes.
To make the Charcoal Dough, stir starter and charcoal powder into the water in a large liquid measuring cup until most of the starter has dissolved. In a separate bowl, combine the bread flour, whole wheat flour and salt. Add the charcoal mixture and olive oil into the flour mixture. Using a dough whisk, spatula or your hands bring the ingredients together until all of the flour is completely hydrated. Knead the dough inside the bowl until it feels like a cohesive mass. Gather the dough and transfer it into a clean lightly oiled bowl. Place the bowl into your Brod and Taylor Folding Proofer set at 26 °C for 30 minutes.
Tip: Bulk fermentation begins the moment you mix starter into your dough. Set a 5 hour timer on your phone as a guide to help you determine when your dough is ready to be shaped.
Create strength and elasticity: Once your dough has rested, perform a coil fold by lifting the center of your dough until one side completely releases from your bowl. Fold the end under and repeat with the other side. Turn your bowl 90 degrees and repeat. This can be done directly in the proofing vessel. Repeat with your Charcoal Dough.
Perform 4 sets of coil folds in 30 minute intervals as your dough ferments. Your dough will appear smoother and become less sticky as you continue to perform these folds.
Combine the doughs: After you’ve completed your fourth fold, you’re ready to combine and marble your doughs! Lightly wet your hands and a clean surface with water. Turn the Plain Dough out onto your work surface. Gently stretch the dough out into an 45 x 25 cm rectangle (you don’t have to be exact here). Spread 2/3 of the black garlic evenly on top of the dough.
Using your hands, lightly pick up the Charcoal Dough and stretch it into roughly an 20 x 25 cm rectangle, doing your best not to tear the dough. Place the Charcoal Dough in the center of the Plain Dough and spread the remaining 1/3 of the black garlic on top. Fold the edges of the Plain Dough over the Charcoal Dough like you would if you were folding a letter. Fold the dough into thirds once again and put it back into your proofing vessel with the seam side down.
Rest: Place your proofing vessel back into your Brod and Taylor Folding Proofer and allow the dough to rest for another 30 minutes. Perform one last coil fold and allow the dough to rest for the remainder of bulk fermentation. You won’t want to fold your dough more than once so you can maintain the marbled effect.
At the end of bulk fermentation your dough should look bubbly, airy and should have visibly increased in volume by at least 50%.
Shape the dough: Line a 22 x 23 cm baking sheet with parchment paper. Drizzle and spread a bit of olive oil on top of the parchment paper (this will lightly fry the bottom of your focaccia). Set the baking sheet aside.
Turn your dough out onto a lightly floured surface. Gently coax your dough into a rectangle, being careful not to knock all the air out. Fold the side of the dough closest to you towards the center, tap the dough lightly to help it adhere to itself. Pick up the right and left sides of your dough and fold both sides towards the center, folding one side on top of the other. Roll the top of the dough onto itself until your dough forms a fat log. Place the dough onto your prepared baking sheet, drizzle and spread a little bit of olive oil on top of your dough.
Overnight rest: Cover the dough with plastic wrap and place it inside the refrigerator to rest overnight.
Dock the dough: Preheat your oven to 232 °C. Once the oven is preheated you’re ready to dock your dough.
Drizzle a generous amount of olive oil over your dough and spread it throughout using your hands. Using your fingertips, make a series of indentations on your dough (you’ll want to make sure you make lots of indentations throughout your dough to prevent blowouts in the oven as your bread bakes). Sprinkle an even layer of sea salt over your dough.
Bake: Bake the focaccia for 30 to 35 minutes or until it looks evenly golden brown. Place your baking sheet over a wire rack and allow it to cool for 15 minutes.
Enjoy and store: Focaccia is best enjoyed warm from the oven. Slice the focaccia and store any leftovers in airtight containers for up to a week.


 Select Country


